
Last yr we spent Christmas in Denmark with Paul’s family. It was amidst impending lockdowns so we spent various time open air strolling. I observed some gorgeous paper Christmas angels on a stroll one night in any individual’s window and took a picture (beneath) to remember it for this yr. I made them smaller to utilize as ornaments or a gift topper. See beneath learn how to make this DIY Christmas angel!
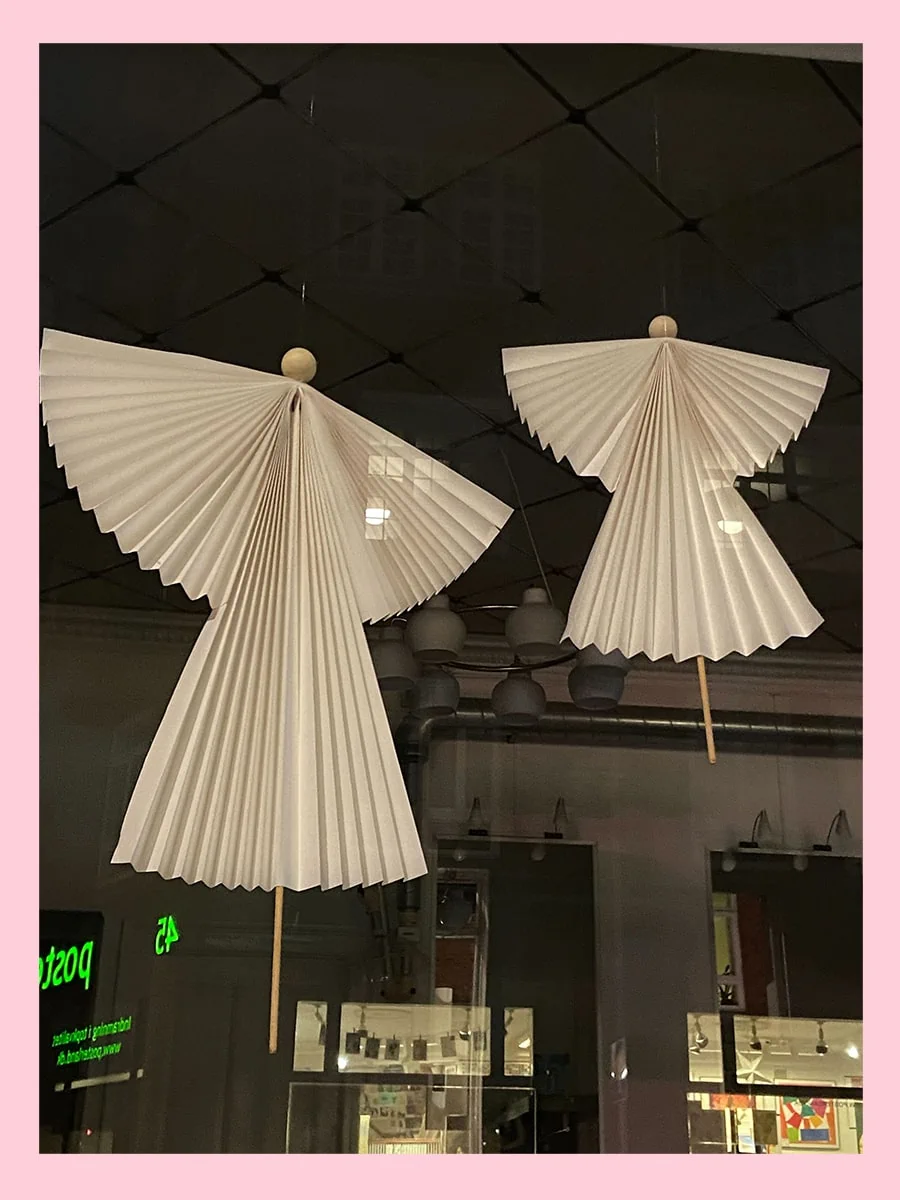
Proper right here’s the picture of the outsized DIY Christmas paper angels. I LOVE the ginormous dimension and even tried it out myself, nonetheless I’m displaying you learn how to make a pint dimension mannequin proper now.
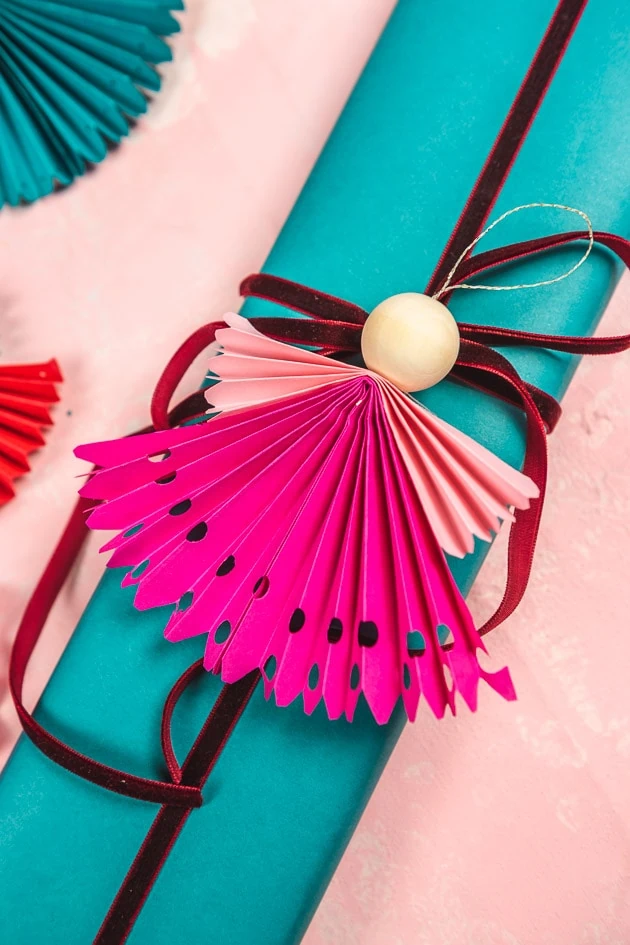
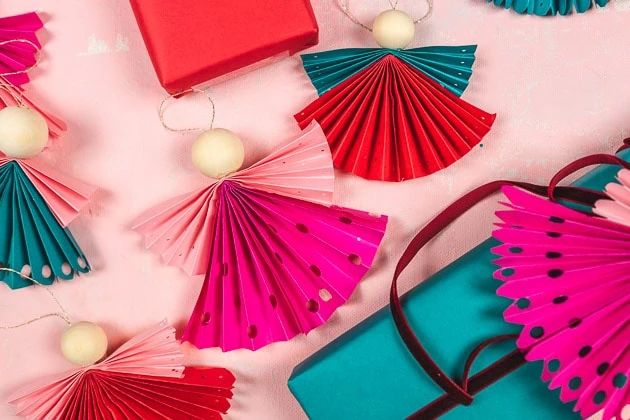
These DIY paper angels are a typical Scandinavian customized they often make them so beautifully, usually in white. BUT, that’s Lars, and we wanted to place them into colorblock colors! I LOVE the colorblock, what do you assume?
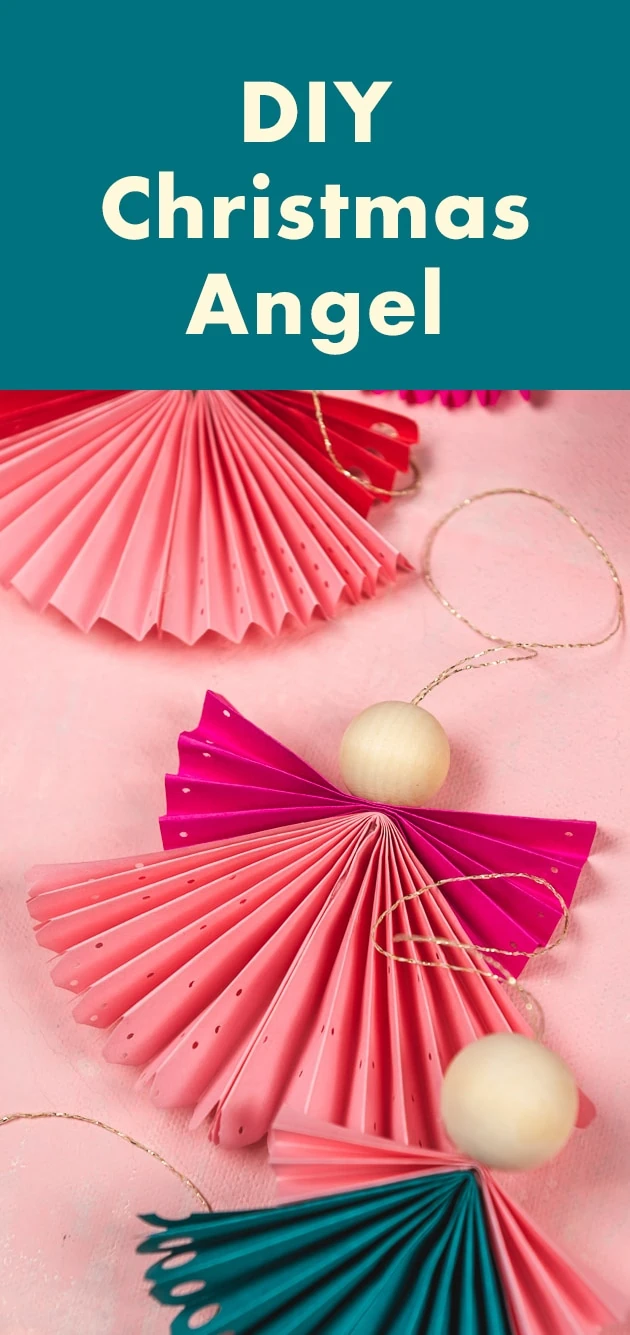
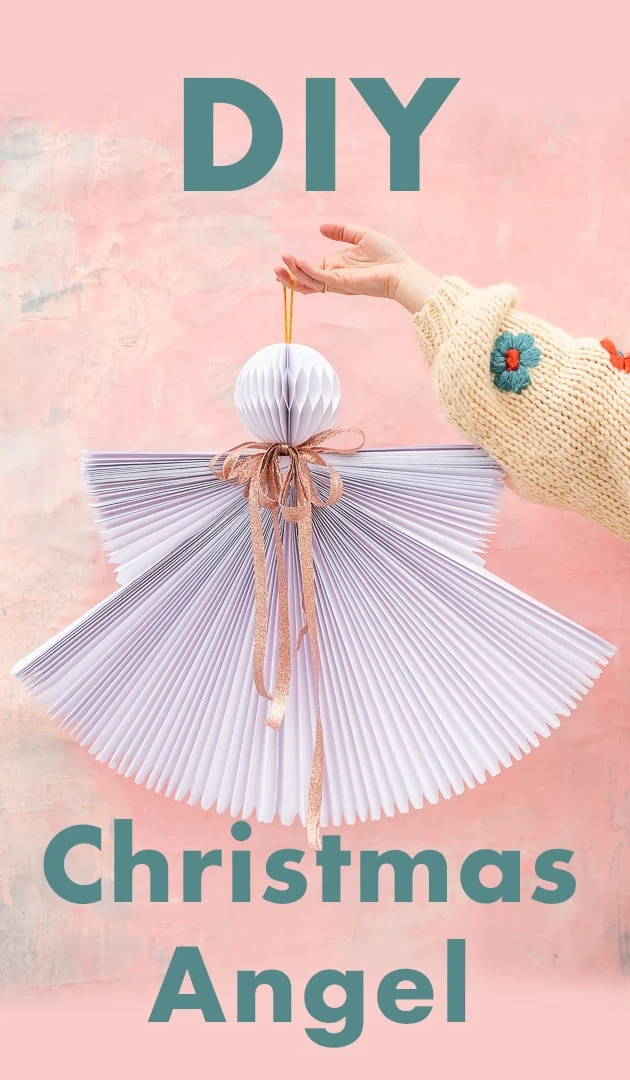
DIY Christmas angel
See the provides guidelines above and proper right here’s learn how to make one!
Prepping your paper for the DIY Christmas angel
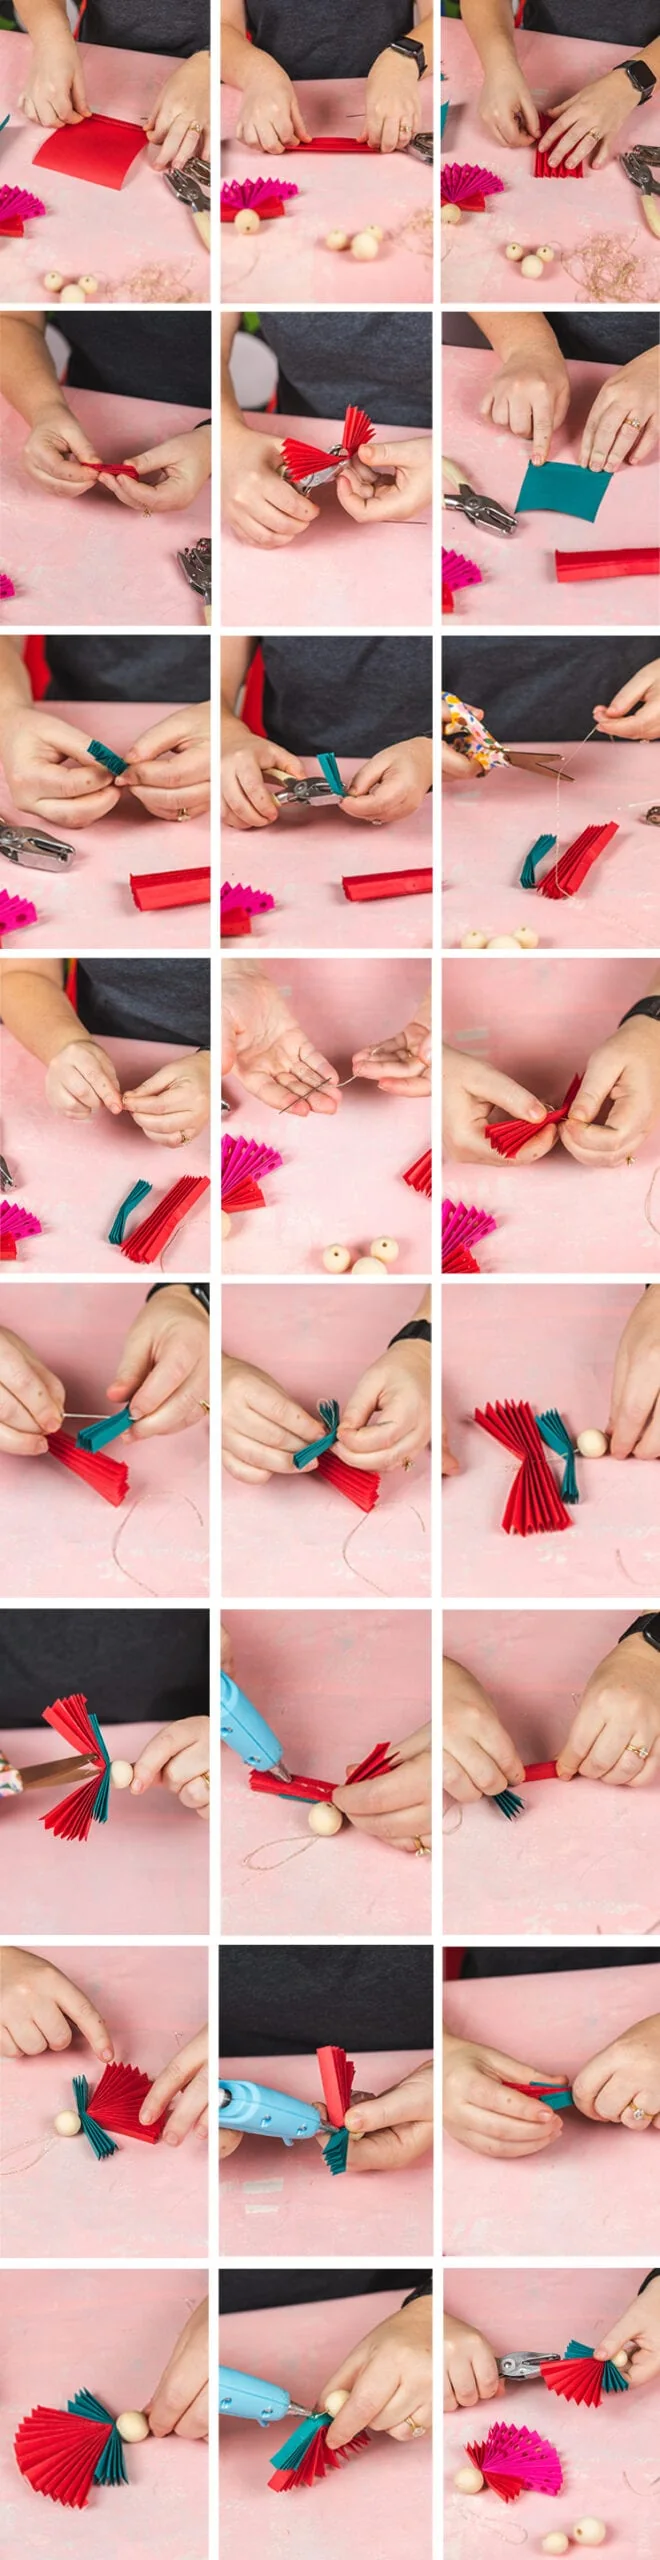
- Decrease your paper into two completely totally different sized rectangles, one 5×6 in. for the angel skirt, and one 3 ½x3 in. for the angel wings.
- Start collectively along with your higher piece of paper and begin folding on the longer edge like an accordion. Folds can be about ¼ of an inch or 1 centimeter huge.
- Take the folded paper and fold it in half to go looking out the middle, punch a small hole throughout the heart.
- Take the smaller rectangle and fold merely the way you in all probability did the larger paper, on the longer edge, to make the wings. Fold in half and make a niche throughout the heart.
Stringing the angel all collectively
- Take your string and cut back it to about 10 inches.
- Fold the string in half and tie unfastened ends of the string collectively in a knot that is higher than the outlet within the midst of your papers.
- Thread the looped end of the string through the underside of the larger folded paper, then the underside of the smaller folded paper, after which seize your big bead for the highest and thread that on as successfully.
- Trim the excess thread.
Gluing the Christmas angel all into place
- Alongside along with your scorching glue gun, put glue on just one facet of the folded paper, carry it together with the other facet to connect them, and preserve whereas glue dries.
- Now you can glue the wings to the skirt! Put a strip of glue on the beneath fringe of the wings and press to the very best of the skirt.
- Put a blob of glue throughout the hole on the very best of the wings and glue the highest in place.
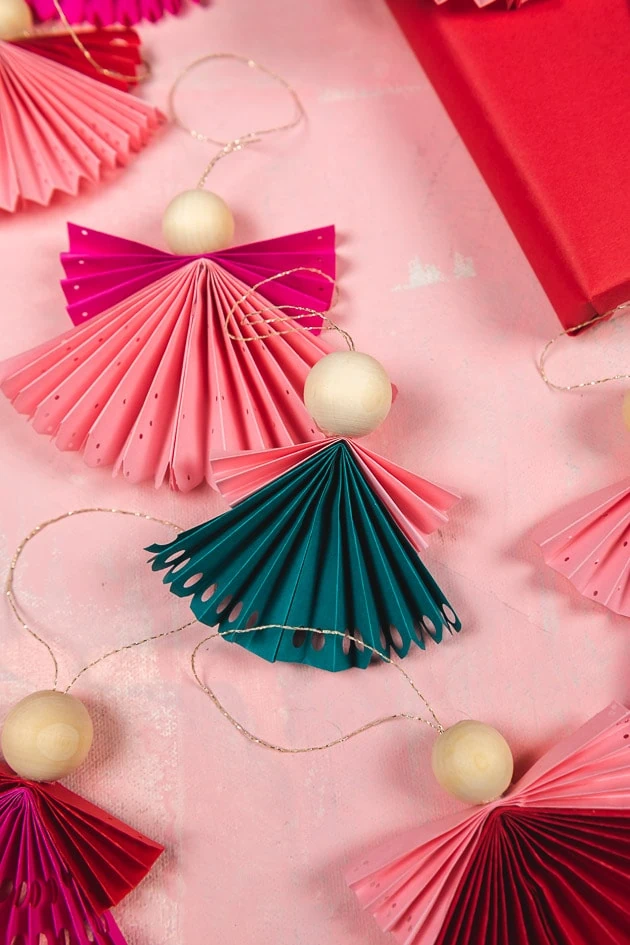
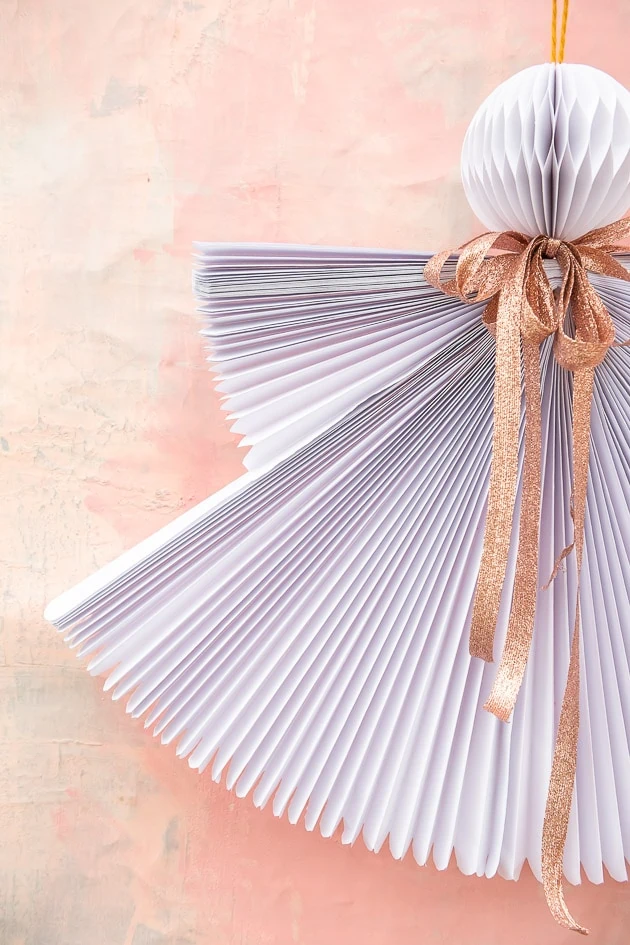
- Now you can unfold all of it and see your angel!
Beautify the Christmas angel
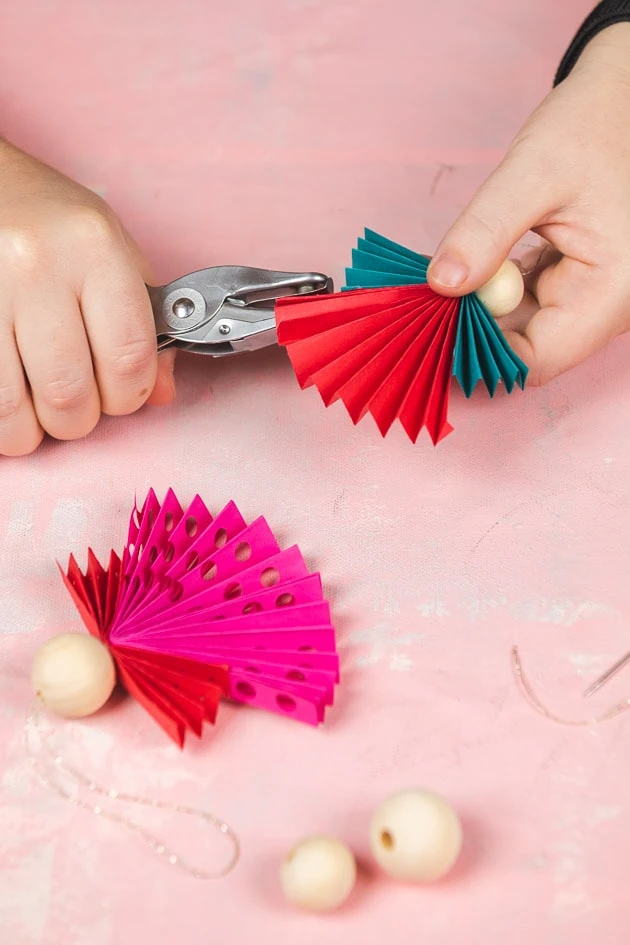
Beautify nonetheless you need by punching holes throughout the skirt and wings to create a lace influence. You may even cut back the corners to make them rounded, giving a scalloped look. Have the benefit of!
DIY Outsized paper angel
I LOVED the distinctive outsized variations quite a bit that I tried that out as successfully.
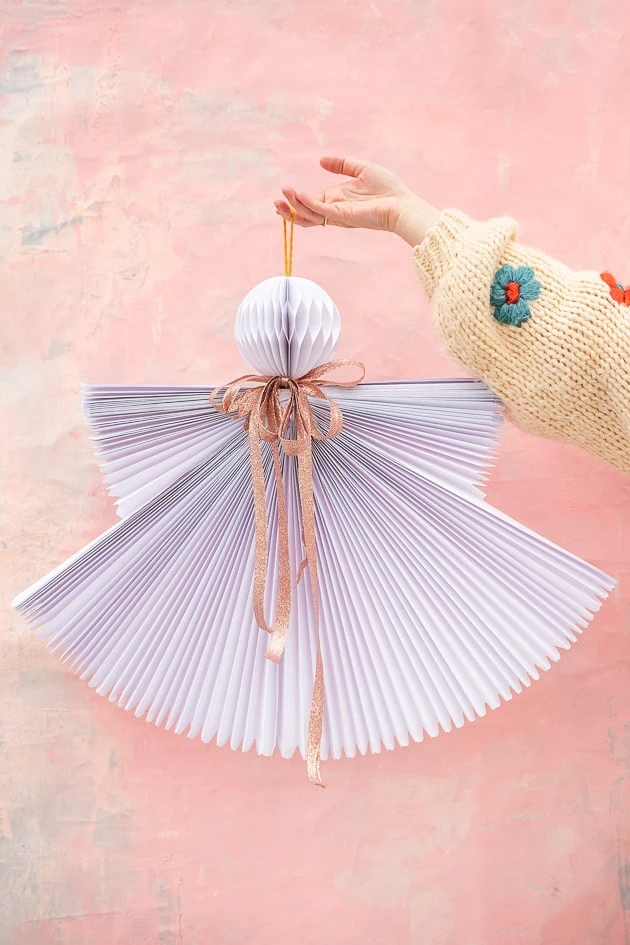
And in addition you’ll in no way guess what we made it from…you ready???
Proper right here’s learn how to make the outsized paper angel
These non everlasting shades that you will discover on the ironmongery retailer. We lived in these blinds until these days and I had a few hanging spherical so we went to metropolis with them. They arrive like 6 for $20 already on Amazon utterly folded so all it is a should to do is assemble. Quick and easy!
Proper right here’s the learn how to for the big paper angel
- Decrease one among many shades to be 21 inches. This shall be your angel’s wings.
- Punch a niche through the center of every shades. (You will must punch holes in sections at a time)
- Thread yarn through the holes to connect the skirt and the wings to make a loop on the prime. Assure that the sticky strip is face down for every of them. Tie the yarn proper right into a knot on the bottom so it doesn’t come through.
- Now you can take off the plastic strip that covers the sticky strip. Fold the underside down to connect with the other facet, making the skirt full.

- Now you can stick the wings to the skirt using the sticky strip on the underside of the wings.
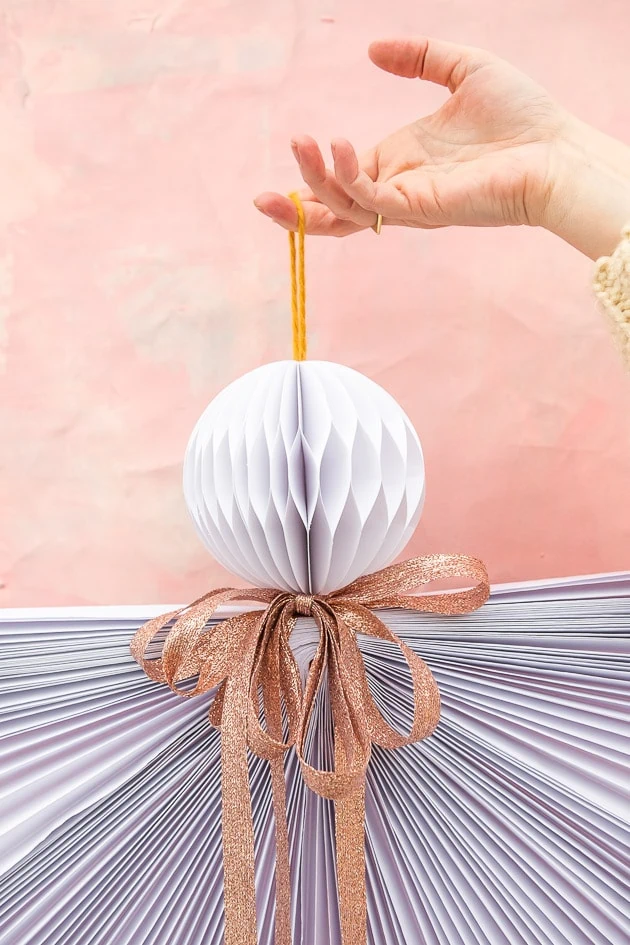
- Make the highest using the honeycomb tutorial (we didn’t use doilies proper right here nonetheless I really feel they’d be large pretty!)
- Join it to the very best, throughout the yarn!
- It’s possible you’ll cut back the edges for a additional rounded scalloped look!
- Add a ribbon for a sweet completion (we purchased our ribbon from Studio Carta)
Wish to see in case you make it. Tag us with #LarsMakes in case you do!