
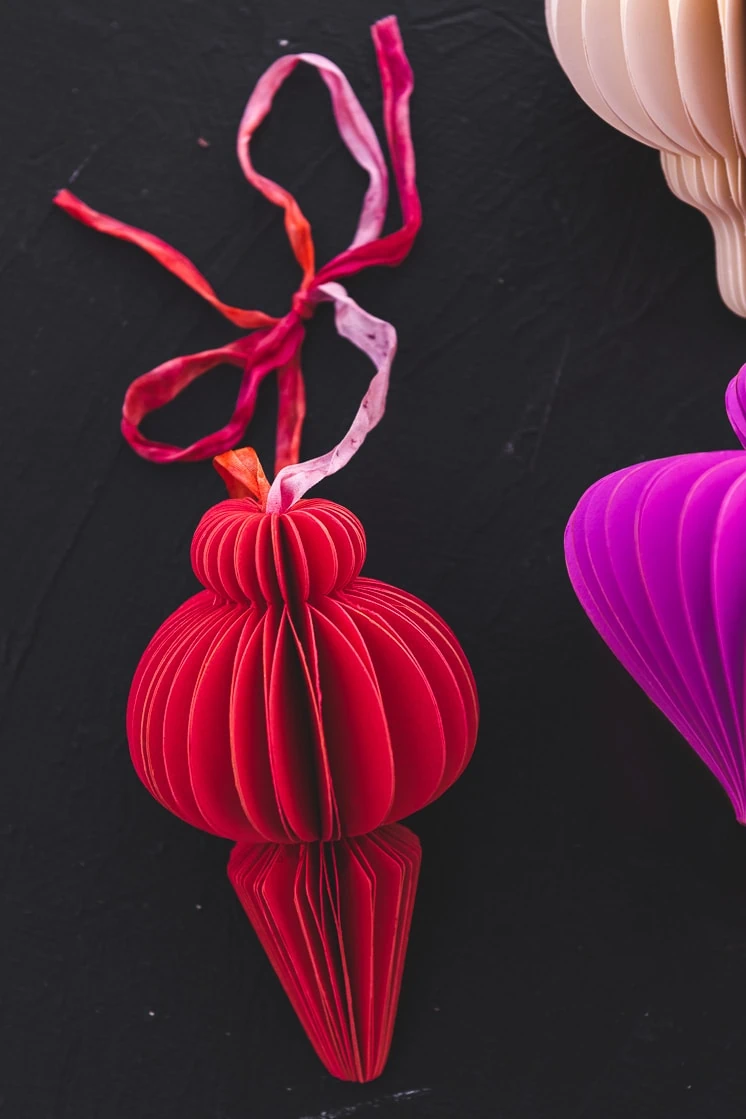
Paper honeycomb ornaments are fully on-trend this trip season. They arrive in so many pleasing dimensions and shapes, nevertheless they’re usually pretty expensive. In actuality adorning your Christmas tree in any method can add up pretty fast. Which is why making these paper ornaments your self will flip your mood from a humbug grinch to a Christmas elf merely. like. that.
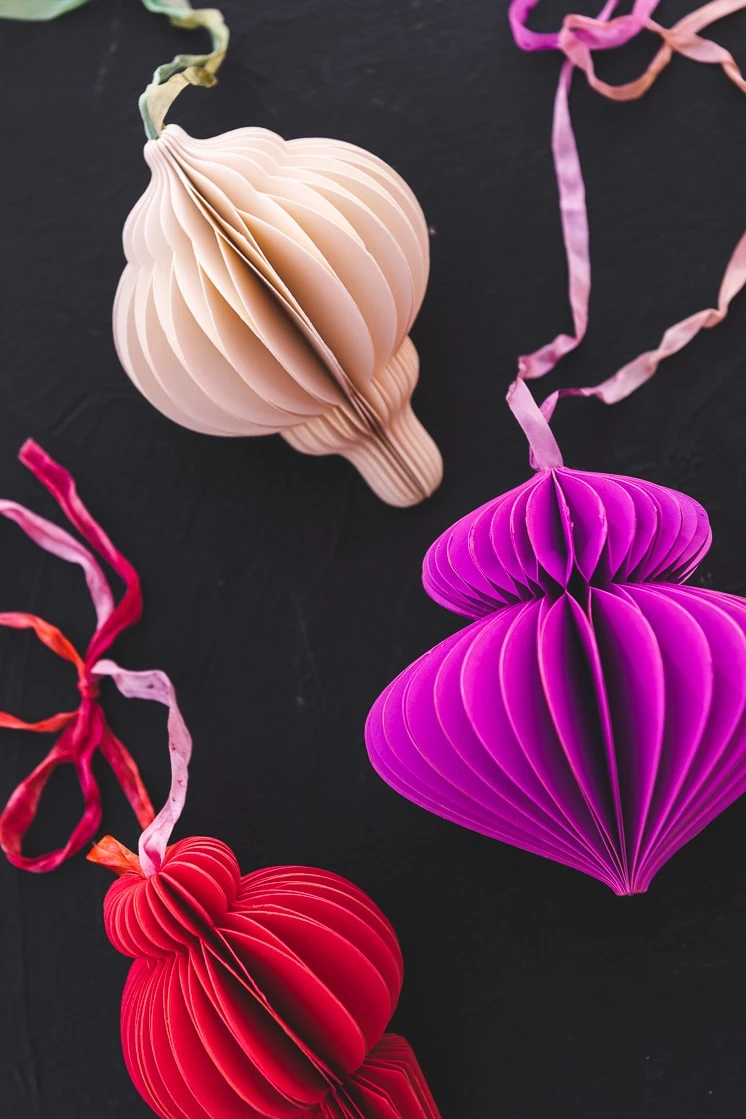
Maintain finding out to study the best way to make your private! We moreover now have a template of 5 primary nevertheless whimsical ornaments shapes to fill your tree. Adorn your tree in any coloration scheme you want this yr!
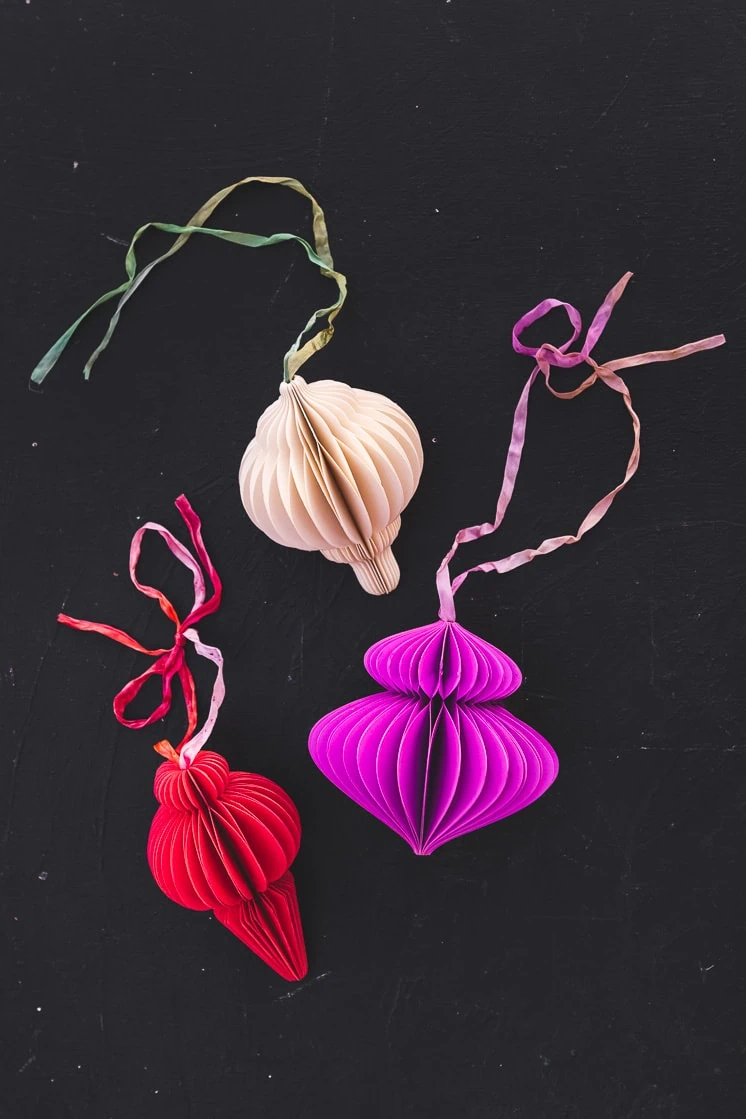
We love the mid-century stylish vibe of paper ornaments, and the jewel-toned colors complement any Christmas tree. We significantly like that they’re non-breakable—while you’ve obtained a toddler in your individual house, you understand.
Plus all people loves a handmade ornament. They’re sweet and nostalgic, equivalent to Christmas should be. Though these DIY paper ornaments are pretty the extent up from popsicle stick reindeers and laminated school photographs, ha!
How one can Make your DIY Paper Honeycomb Ornaments
These DIY paper honeycomb ornaments are simple to make, you’ll get the grasp of it super quick. And like all of our paper crafts, you can reuse them subsequent yr! Merely be sure to retailer them in a area the place they acquired’t get crushed by heavier objects.
Provides:
Instructions:
Be taught all instructions sooner than beginning your mission!
- Get hold of our ornament templates proper right here
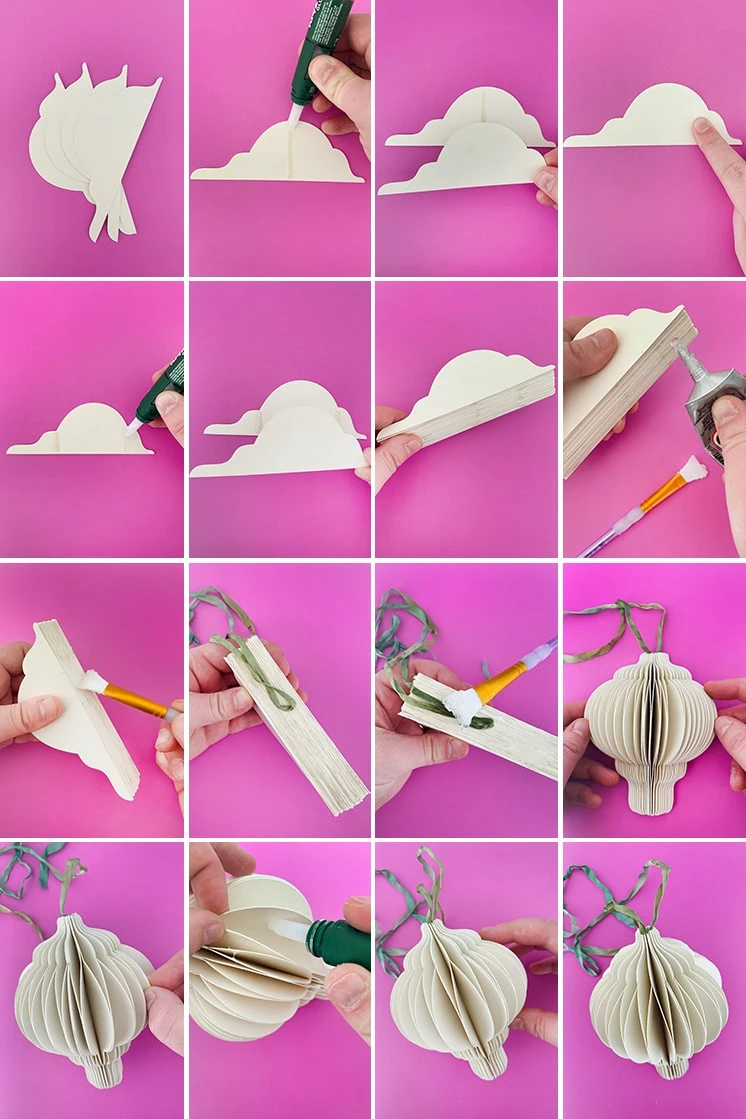
- Use your slicing machine or scissors to cut out 66 gadgets for each ornament.
- As quickly as your entire gadgets are decrease, you may start glueing them collectively.
- Fastidiously place 2 skinny strains of super glue separate from each other, and perpendicular to the flat fringe of the shape. Take care to not unfold the glue anyplace else. Your line of glue does not should go all one of the simplest ways to every edges of the paper, start and end in a bit bit to stay away from glue spilling over the edges.
- Place the next kind on prime of the one with glue, fastidiously lining up all the edges.
- On prime of this new piece, fastidiously place one line a wonderful glue, in the midst of the place you positioned the 2 strains on the ultimate piece.
- Place a subsequent gadgets on prime of prime of that, as soon as extra aligning all edges.
- Repeat steps 4-7, alternating between 1 line of glue and a few until your entire decrease shapes are stacked on prime of each other.
- Now you may seal the flat edges of your ornaments shapes collectively using bookbinding glue or each different versatile glue.
- Whereas holding the shapes collectively tightly, use a small paintbrush with a flat edge to unfold versatile glue alongside your full flat fringe of your stack of paper shapes.
- Sooner than the versatile glue has dried, use it to attach a ribbon to the flat edge, on the aspect you want as the best of your ornament. That’s what you may use to carry it up later.
- Let your work sit until all of the glue is completely dry. Now it is time to open your ornament!
- Starting at one aspect, start to fastidiously open the individual shapes in your stack, fastidiously unsticking any edges the place the super glue would possibly want spilled over if needed.
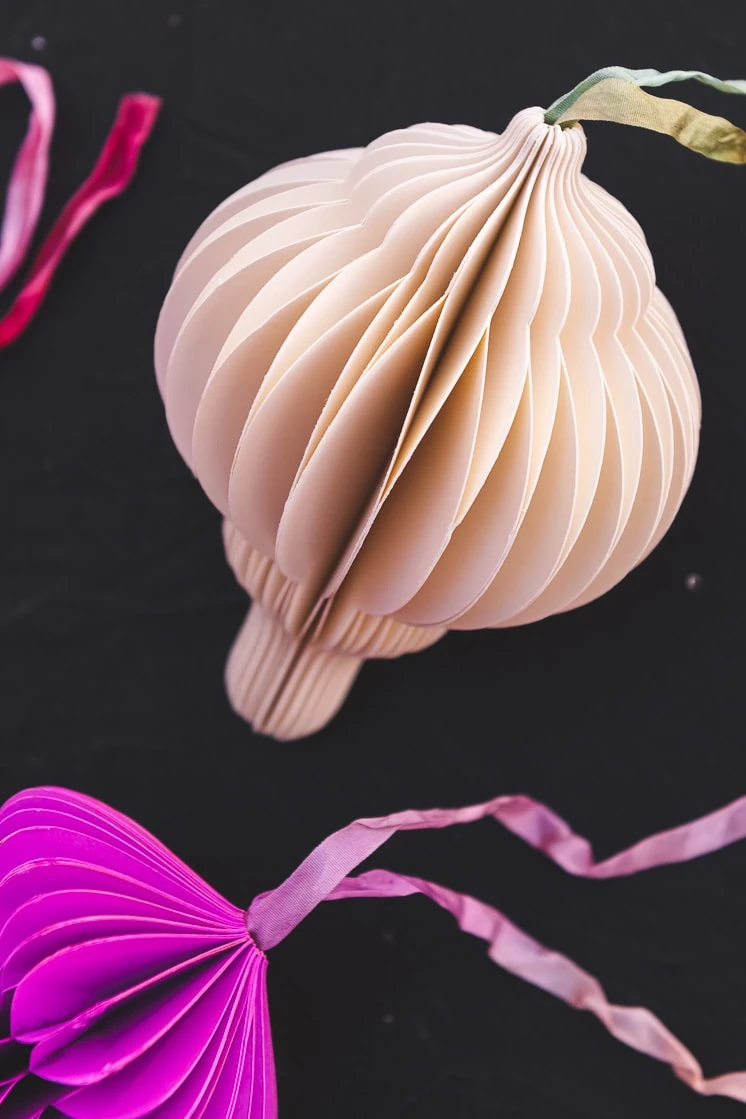
- Your paper shapes ought to talk in confidence to sort your ornament, meeting on the opposite aspect. You’ll see the ribbon is now tucked in throughout the coronary heart of the ornament.
- Fastidiously align and glue collectively the 2 sides that meet when the ornament is open. Ta da!
Additional Concepts
Listed below are some extra notes that will allow you stay away from errors your first time spherical!
If you happen to’re having a tricky time opening your ornaments that is most definitely on account of glue spilled over the edges and is in areas it shouldn’t be. That is the explanation you’ll need to take care to make your strains of super glue as skinny and straight as attainable. And stay away from glueing all one of the simplest ways to the sting of your paper. Merely take your time!
It is doable you may experiment with the place you place your strains of glue to understand completely totally different end appears to be – as long as you utilize the equivalent pattern for one complete ornament. These strains of glue impression the place the “honeycomb” impression displays up on accomplished ornaments. For all of the shapes included in our templates, I nonetheless used 2 strains of glue alternating with 1 line between them.
Further Paper Ornament Ideas
Need further DIY ornament ideas? Attempt our tutorial for printable retro ornaments, paper candle ornaments, or a head to toe Swedish Christmas tree.
For individuals who’re not throughout the mood for a DIY, flick through our whimsical Christmas ornament alternative, launched on this put up from a lot of weeks prior to now.
Paper Ornaments Accessible For Purchase