
Are you ready for spring however? I do know I am. As quickly as Valentine’s Day is over, it appears to be like like winter merely drags on. I’m so carried out with the random snow flurries and chilly spells amidst the teaser spring local weather. Spring can’t come rapidly adequate! You perceive how lots I like spring–I indicate, it’s the season of flowers, so are you able to really blame me? It’s pretty!
With a view to help give spring a nudge within the appropriate path, we now have a mannequin new paper flower for you this yr! Welcome this delicate, DIY paper orchid if you’re prepared for the flowers to begin out blooming. We predict it merely might do the trick.
DIY Paper Orchid
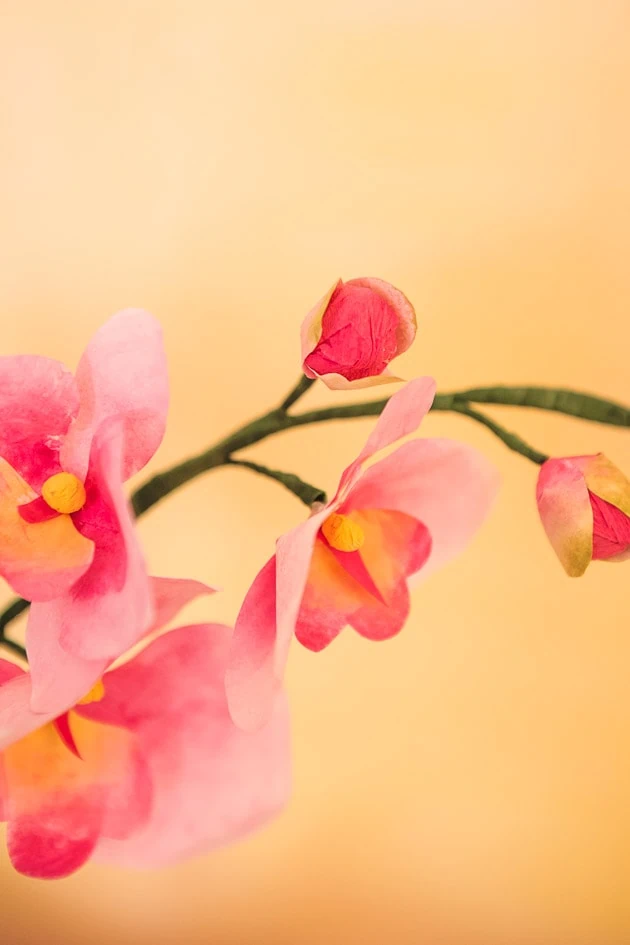
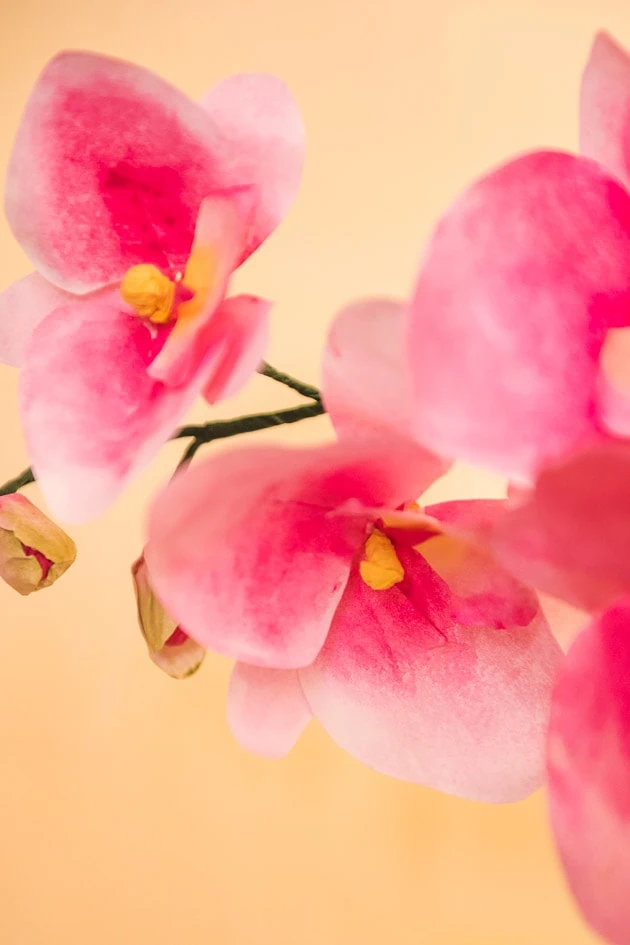
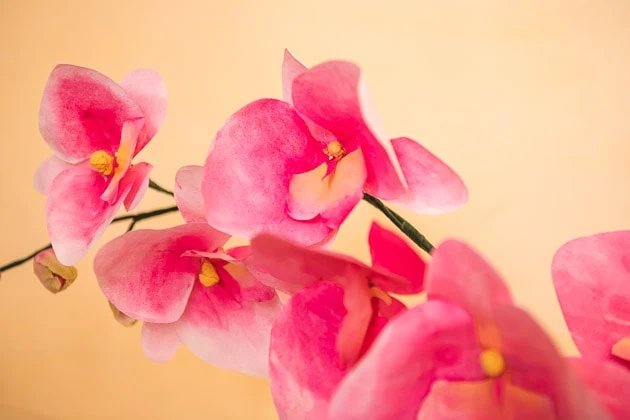
As a result of it’s a recent, new yr, we had been ready for a recent, new flower. We would have liked one factor delicate and pleasant to struggle the winter, one factor genuine and completely completely different from what we’ve carried out sooner than. Due to this fact, the beginning of the DIY paper orchid! As a substitute of using our tried and true crepe paper, we went for a softer, further delicate look, imbuing typical printer paper with a fragile, watercolor-like texture. We love the way in which through which the paper gently curls and drapes similar to the petals of precise orchids, and the watercolor texture is a surprising little contact. Capable of uncover methods to make your private?
How one can Make a DIY Paper Orchid
Making your private DIY paper orchid is surprisingly simple! Proper right here’s the easiest way to do it:
Prepping the Paper
- First, receive the paper orchid templates found proper right here.
- Using the Cricut maker or scissors, decrease out the templates on frequent white 8 1/2″ x 11″ paper. Be at liberty to cut out as many as you’d like–we used three small full bloom, six large full bloom, and eight buds. For the leaves, we used one small, one medium, and two large.
- Now it’s time to connect the petals. It’ll give them a bit further kind. To do this, take a petal. It should have a small decrease inside the bottom near the underside. Gently switch the aspect with the stem over on excessive of the alternative aspect. Secure with a dab of scorching glue. It should now gently cup inside the coronary heart.
- Repeat step 3 for the rest of the petals and buds.
Prepping Your Workstation
- Prepping your workstation will help make the latter steps lots easier. You’ll want a jar of water to water down the paint and rinse out brushes. You’ll moreover want paint brushes (one with a big, rounded tip works correctly for this), a paint palette or plate in your paints, and some paper towels to paint on. This generally is a bit messy so that you simply’ll need them. We notably most well-liked paper towels on account of they’re further absorbent than newspaper or one other defending defending in your ground.
- As quickly as your work station is prepped, you possibly can start painting!
Painting the Objects
Now you’re ready to paint! It’s essential to use a variety of methods for this–watercolor, gouache, and acrylic paint all work correctly.
- Take a petal and moist the whole entrance (curved inside) with water. This makes for a clear texture in your gradient.
- Then, using a watered down shade of your choice for the petal (we used pink), paint a gradient. Start with further concentrated shade on the bottom and additional watered down on the perimeters of the petal.
- Repeat steps 1 and a pair of for all petals.
- For the two tone petals, repeat steps 1 and a pair of, nonetheless paint one shade inside the coronary heart on the bottom (we used yellow), and one shade on the recommendations (we used pink), mixing them simply the place they meet. Use the equivalent course of for the buds, apart from paint the aspect that bumps out, comparatively than the inside.
It is going to take a bit for the petals to dry, so you’ll be able to do the alternative steps if you wait.
The Stamens

- For the stamens, first use needle nostril pliers to bend a small loop inside the excessive of a little bit of 24 gauge wire.
- Now, wrap a thin strip of crepe paper throughout the loop. Bundle it up so it’s good and neat and secure with a dab of scorching glue.
- Subsequent, paint the stamen a shade of your choice (we used yellow).
- Let the paint dry sooner than together with it to the flowers!
The Leaves
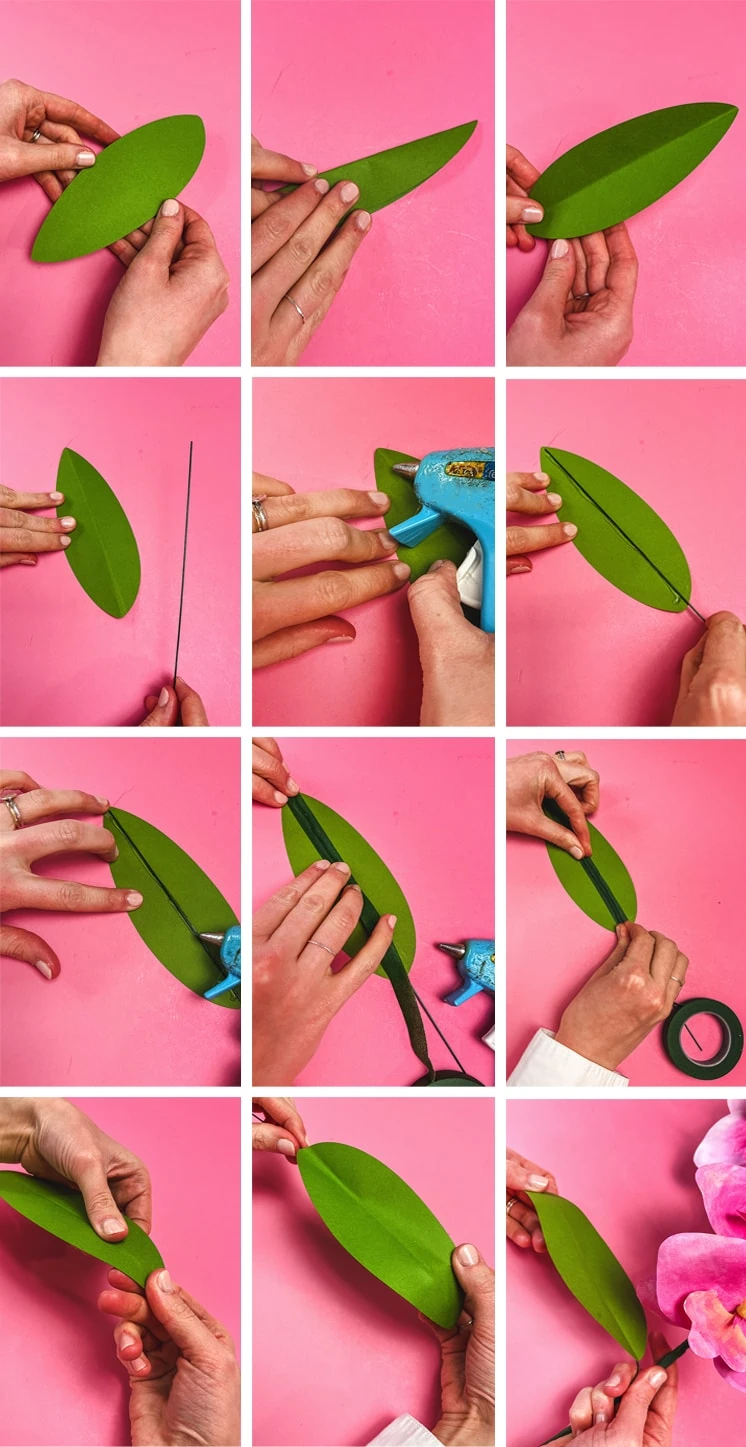
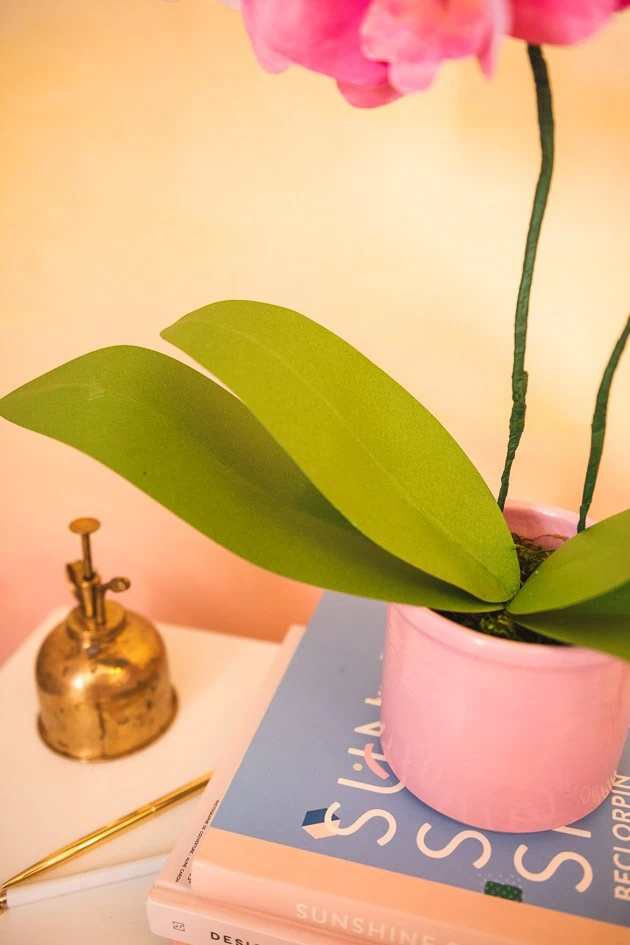
- First, using your Cricut maker or scissors, decrease out the leaf templates on inexperienced card stock paper.
- Subsequent, fold the leaves in half. While you’d like, you probably can ranking the once more of the leaf sooner than folding–this makes folding lots easier!
- After folding, flip the leaves over and scorching glue a little bit of 18 gauge wire alongside the fold line. Lengthen three or so inches of the wire earlier the underside of the leaves so that you probably can bind the leaves collectively later.
- While you’d desire to cowl up the wire, you probably can scorching glue a strip of floral tape on excessive. Then flip the leaves once more over.
- Now wrap all your leaves together with floral wire. Put the smaller leaves on excessive, and bigger ones on bottom. Use our images as a reference to see leaf placement.
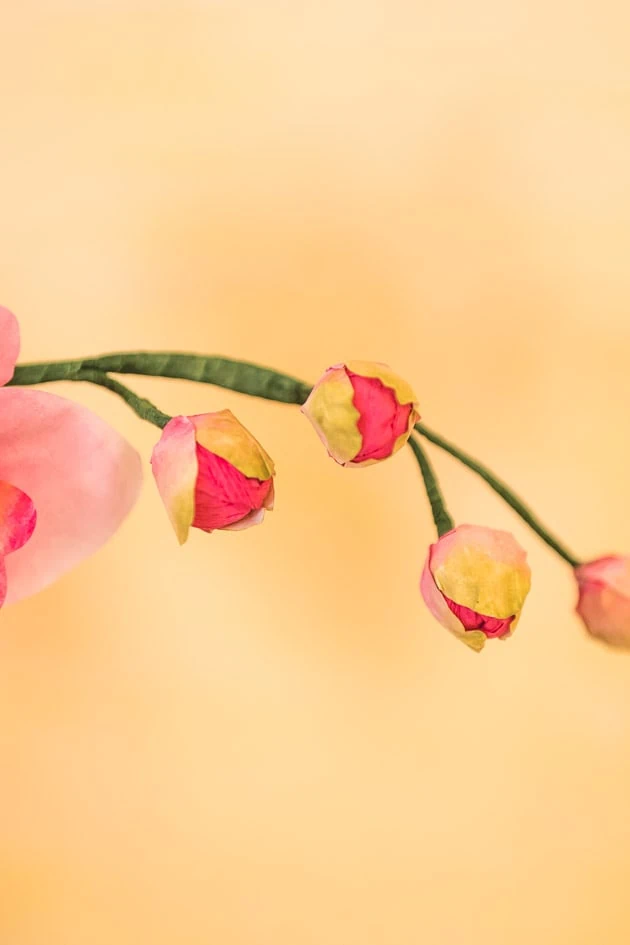
The Buds
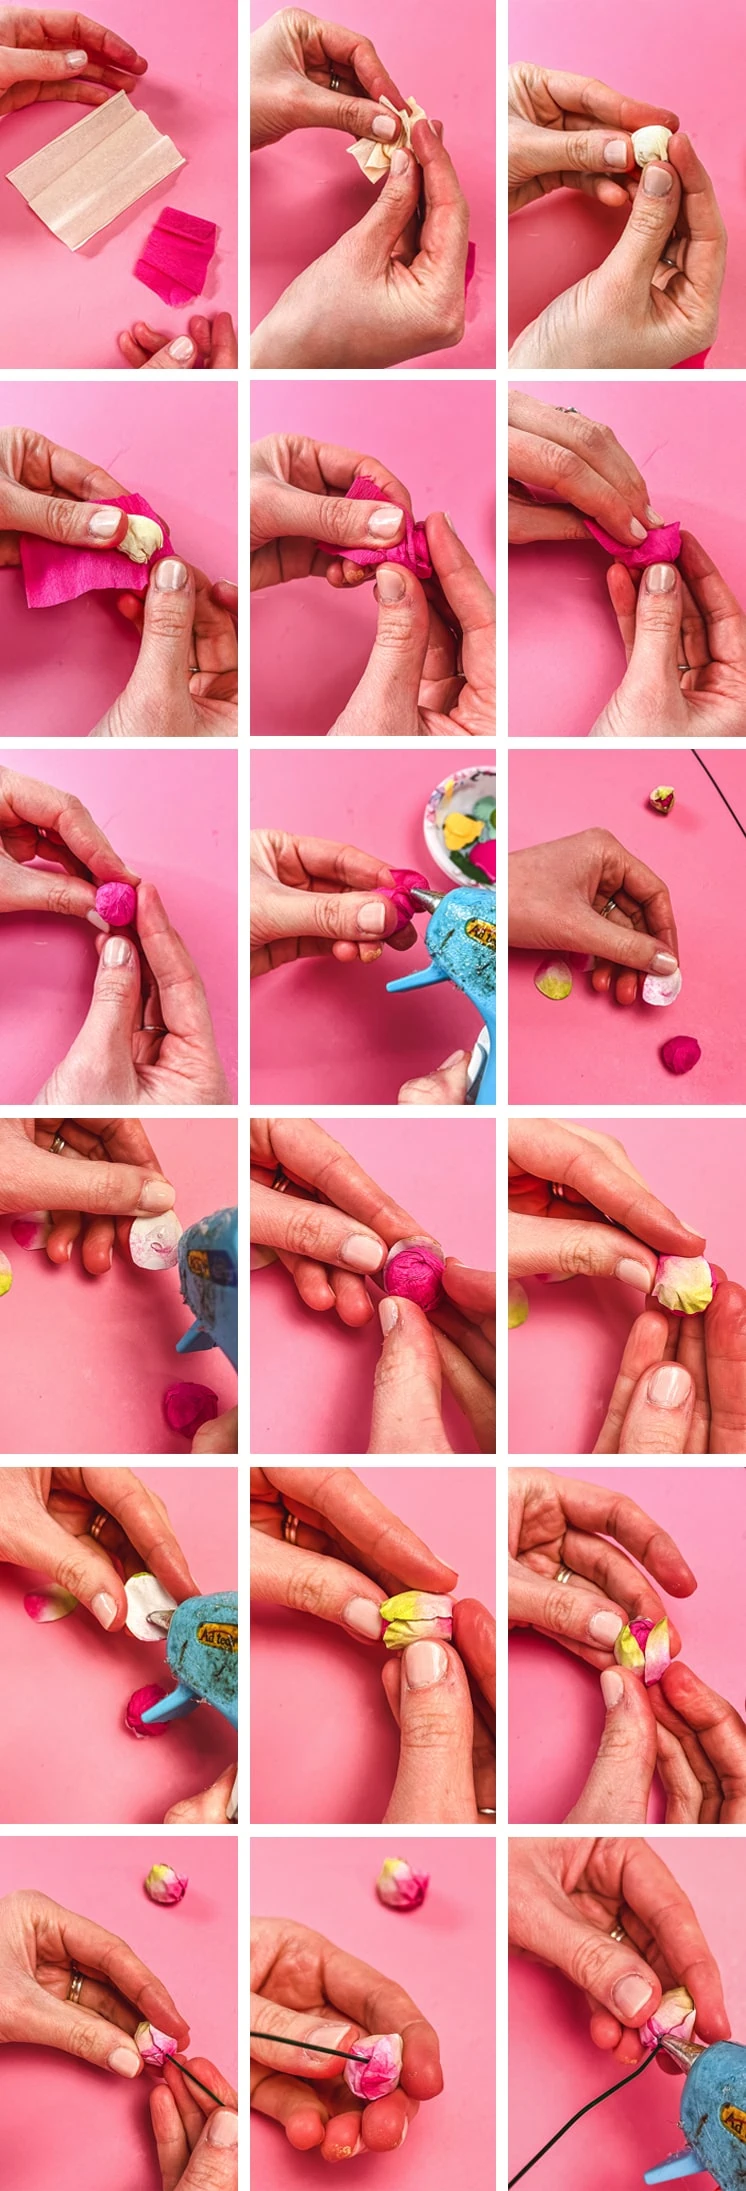
- For the buds in your paper orchids, bundle up just a bit ball of pink crepe paper so it’s good and neat, then secure with scorching glue.
- As quickly because the bud petals are dry, you probably can secure them to the pink ball with a dab of scorching glue. Use three petals per bud, pressing them into the type of the ball as you go. You may even go away among the many buds partially open, like we did.
- After the bud petals are glued on, stick a little bit of 18 gauge wire into the underside of the bud a few centimeters and secure with a dab of scorching glue.
- Now wrap a thin layer of floral tape throughout the wire.
Assembling the Flowers
Now that the petals are dry, you probably can assemble your paper orchids!
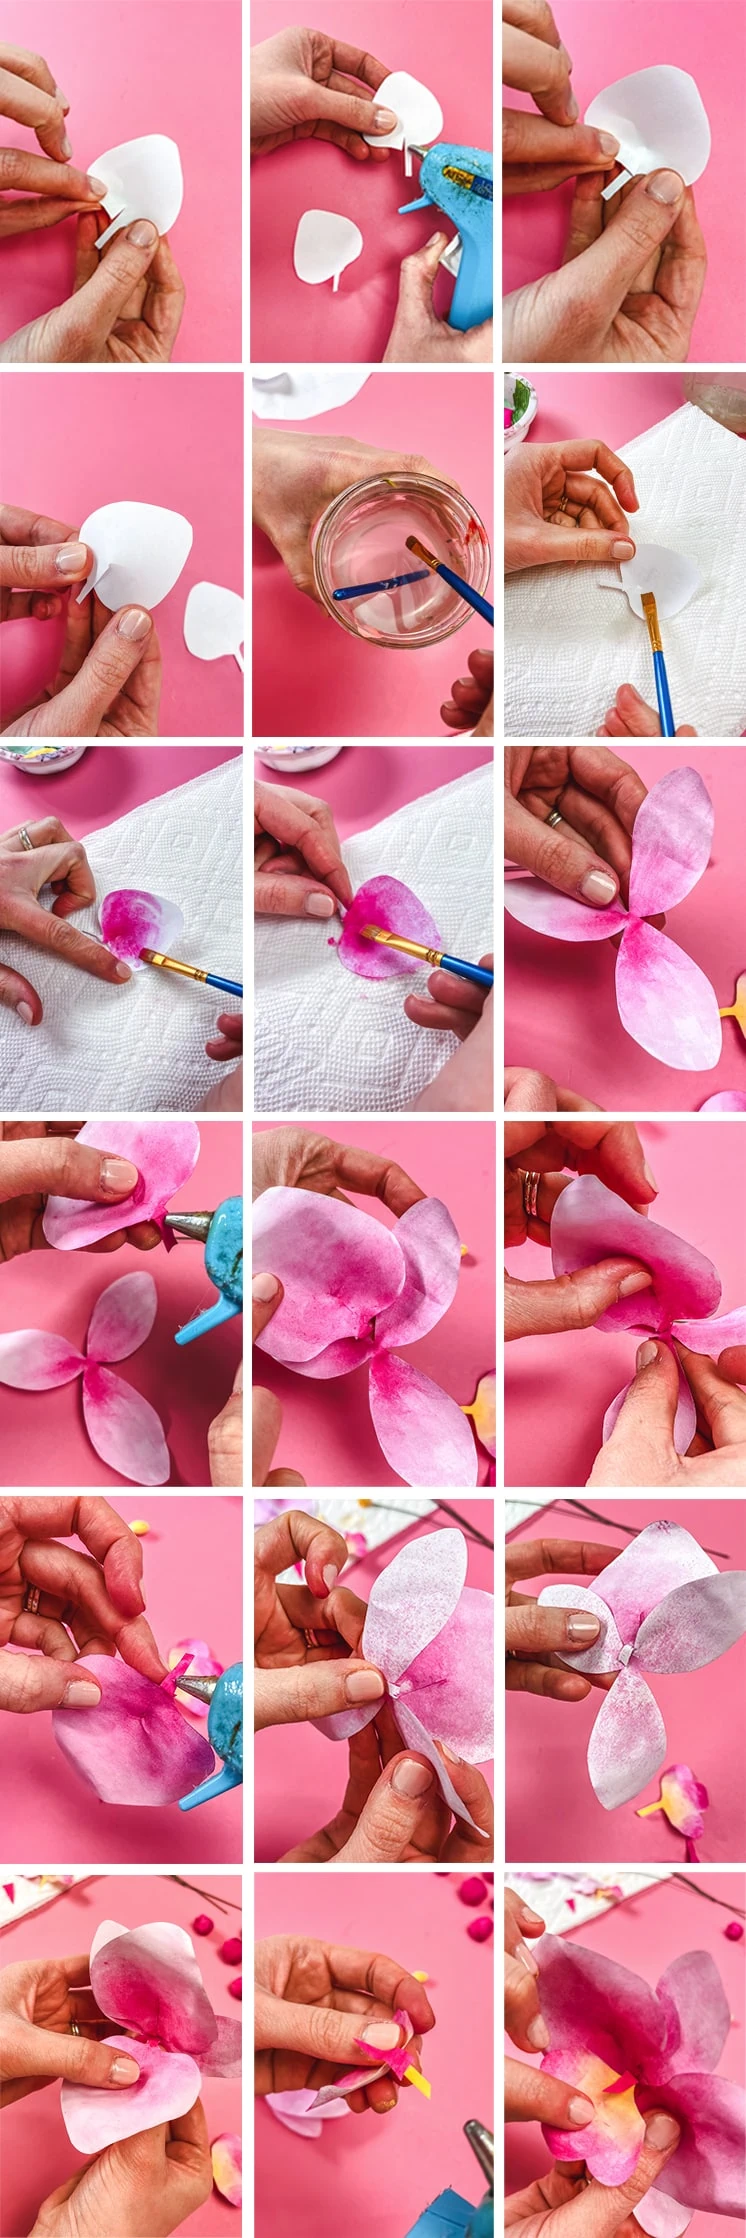
- First, scorching glue the two large petals to the three petal piece, using the step images as a reference. Wrap the underside strips spherical to the once more and secure with a dab of scorching glue.
- Subsequent, scorching glue the little triangle piece to the scalloped petal, with the aim within the path of the scallops.
- Now, scorching glue the scalloped petal onto the first flower with the alternative petals. As soon as extra, wrap the extra strip of paper spherical to the once more and secure with a dab of scorching glue. Bear in mind: if you’d like, you probably can curl the petals spherical your finger to contour them to the type of an precise orchid petal.
- The stamen is subsequent! Take the tip of the wire and poke it through the center of your paper orchid. Pull it throughout so the stamen is pulled up snugly in the direction of the petals.
- Flip the flower over and put a dab of scorching glue on the internet website the place the wire pokes through.
- As quickly as the brand new glue is dry, wrap a layer of floral tape throughout the wire, making certain it’s butted up tightly in the direction of the flower’s once more.
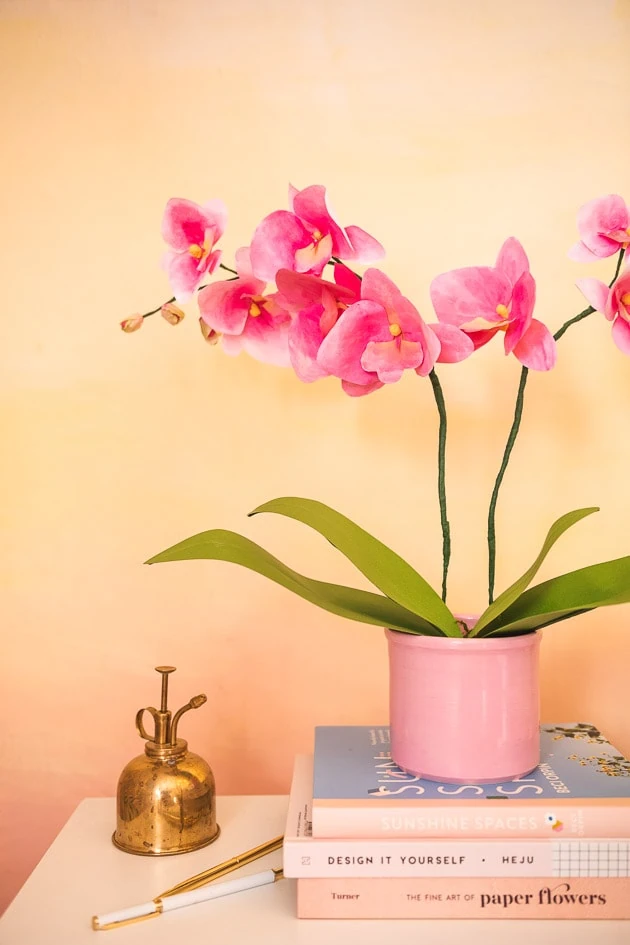
- Using our images as a reference, secure all the flowers and buds together with floral tape. Start with the smallest buds, then partially opened buds, then small flowers, then large. We separated our flowers into two separate stalks. You’ll be able to do as many or few as you’d like!
- Be sure that to go away a giant measurement of sturdy wire to work with on the end for the stem, wrapping your complete factor in a layer of floral tape.
Ending Touches
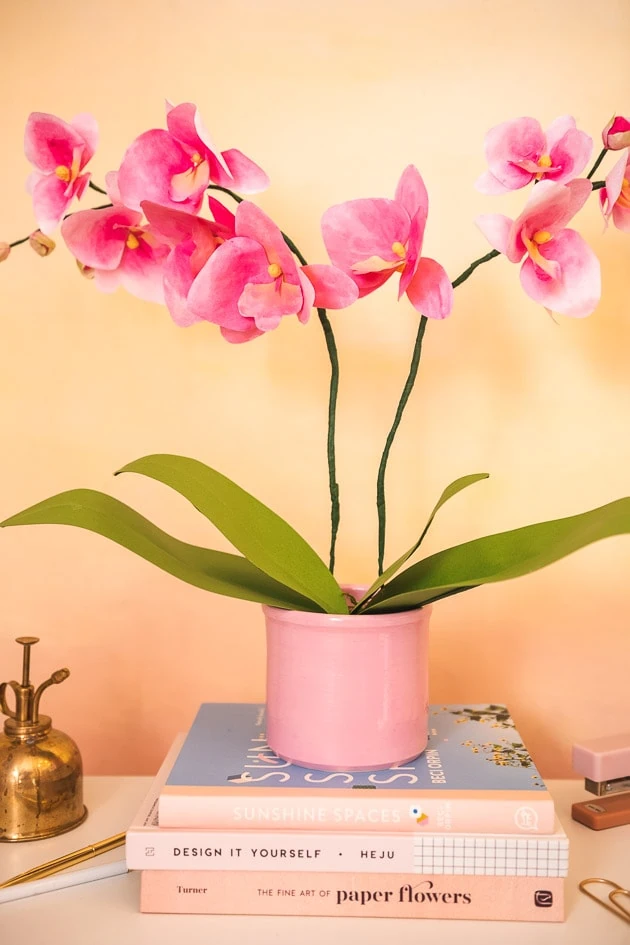
Now all that’s left is to position your paper orchid objects collectively in a pot!
- Place a thick disc of floral foam into your flower pot. The froth disc should match snugly in your pot.
- Poke the orchid branches into the froth, making certain it’s deep adequate that they acquired’t tip over.
- Subsequent, poke the leaves in in order that they’re close to the stems of the orchids.
- Manage the stalks and leaves by bending the wires until you’re pleased with the affiliation.
- Voilà! You’ve merely made your private DIY paper orchid!
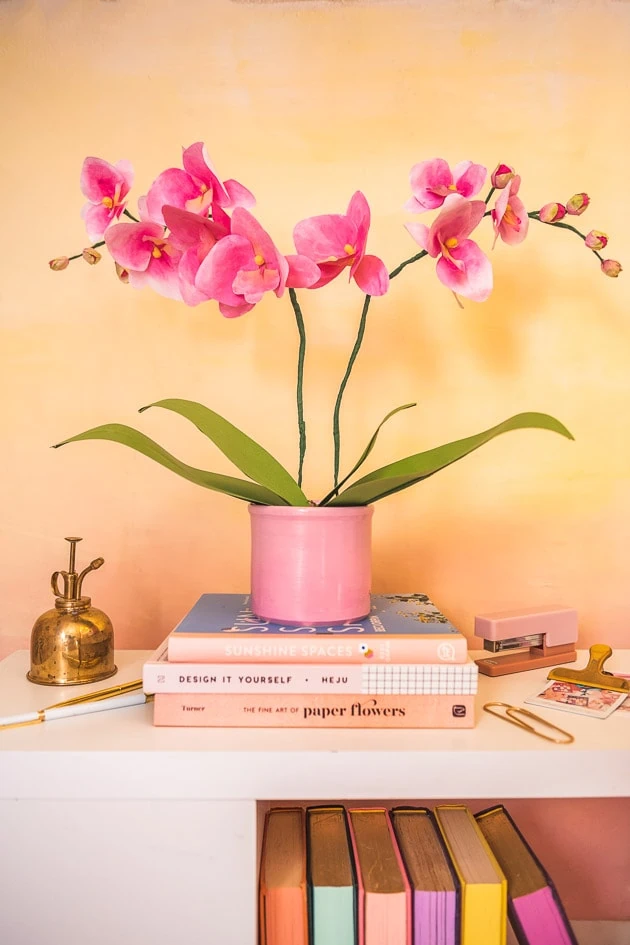
Styling Your DIY Paper Orchid
The great thing about all paper flowers, in my opinion, is that they seem good nearly wherever. And since they’re paper, you don’t have to stress about good lighting to keep up them glad. Stick them in your desk if you’re working, put them inside the bathroom for a pop of shade, subsequent to your bedside desk, or on the mantle. Truly, these little beauties are so fairly they’ll do justice to any room or state of affairs. We would prefer to see what you do with yours! Inform us inside the suggestions.
Further Inspiration
While you beloved this tutorial on DIY paper orchids, you’ll want to strive our completely different paper flower tutorials. We now have so many! Try our DIY Paper Hollyhocks, or these Poppies, Peonies, and Posies. Have a spring or summer season bridal ceremony arising? Proper right here, proper right here and listed below are some pretty bouquets to pick from. You may even do that trip flower roundup if you’re !